 |
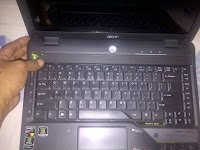
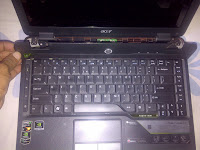
| Acer Aspire 4530 |
Here is a very simple fix that you can do yourself. Don't worry, I've provided some screenshots/pics with this walk-through. Again, just make sure you have the correct webcam driver for your laptop.
Let's start with the tools you'll be needing and they're only two of them... a small Philips screwdriver and a flathead screwdriver. That's all!
Now, what you will need to do is remove the front panel that's located just above your keyboard.
To do this, you will need to take out six screws at the back of your laptop (three of which are inside the battery enclosure).


You will see to two wires leading/going through the hinges. The one on the left side is for your Wi-Lan and on the right is the wire for your webcam. All you need to do is make sure that they are not taut or constricted. Just push the wires in so that they have enough slack every time you open or adjust your screen/lcd.

Before putting back the front panel, try moving your screen forward and backwards to see if the wires are not taut or have enough slack. Once you're satisfied with it, put the front panel back in, put all the six screws back in (no more, no less) and lastly, your battery. That's it, you're done!
Turn your laptop back on and make sure that you engage your wi-fi button as well by depressing it so that it lights up. ENJOY!


No comments:
Post a Comment